*Please excuse the awful quality of the photos in this post. Lighting was awful and most photos were taken at night.
Since October, essentially no major progress was made. Dan and I painted the walls and ceiling (huge task) and we finally got in touch with a contractor in mid-December. He said he does "soup to nuts" and could complete the rest of the renovation for us the second week of January!!! Bahahahahaha! That's funny, here we are the last week of January and just one part of the task is underway.
We still have a very long way to go but the sink/vanity is 90% finished. Here is a look at the recent project.
The vanity in our main bathroom is not a standard size and fully replacing it would have required a custom build or splitting the sinks into two vanities. We decided only the counter and sinks really needed to be fully replaced and we could simply paint the vanity to have it match with the new bathroom.
Initially, Dan and I thought we would have to go hunt for a counter without the least idea of how to do that. But once we got in touch with an actual contractor, he said he would do that. Thank goodness! Once the contractor had ordered the counter and sinks, we spent the next week rehabbing the vanity. It was a lot of work sanding and priming and painting in every spare evening, but we got it done and we are really happy with the end result.
Vanity before: Dark wood, dirty cream-colored counter/sinks, and silver colored faucets. The counter was in rough shape - discolored, staining, scratches, and cracking. We tossed the cruddy medicine cabinet.


Step One: Remove hardware, drawers, and doors

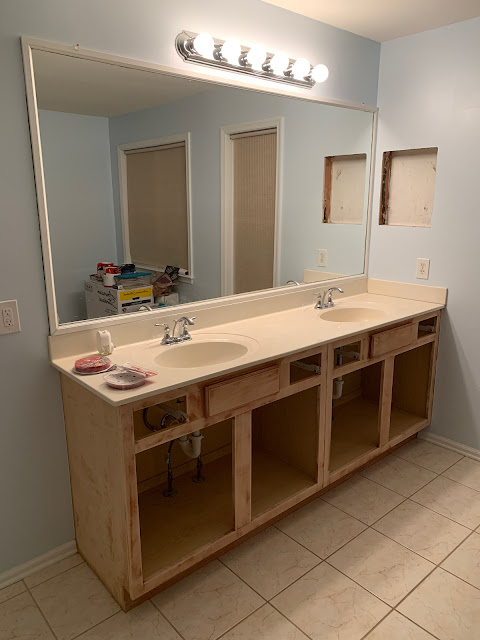
Step Three: Two coats of primer.


I added cabinet pull bars to the middle false drawers under each sink. Previously we didn't have a place to hang hand towels except on the drawer knobs (which was ineffective). Initially, I ordered small towel bars but they were too bulky. It was Mandy's idea to try a cabinet door pull installed horizontally. It was a great solution and achieves exactly what I was hoping for. However, it took 3 hours to install the two simple pulls. Just the usual for us, nothing with this bathroom has been easy. But, they look great!
I'm SOOO happy with the quality of work this contractor and his team did with this counter and so refreshing after the complete crud show with the shower. Next up is the floor, toilet, rerouting the plumbing for a soaker tub, and umm...new drywall patch and a better paint job. I expect this renovation will be completed next October. Stay tuned!


This looks AWESOME! I applaud you and Dan for your sanding and painting! The knobs, faucets & counter top look amazing as well! I think it's a genius idea to put towel holders on the false drawers. I've never seen that done before.
ReplyDeleteI love it! It looks beautiful ❤️
ReplyDeleteA vanity makeover can completely transform the look and functionality of your bathroom, as this article highlights. For homeowners seeking a full renovation, Bathroom Remodeling experts provide tailored solutions to meet your unique needs. From upgrading vanities to optimizing layouts, skilled contractors ensure a seamless process with exceptional results. Trust experienced professionals to create a bathroom that is both stylish and practical, adding value and comfort to your home.
ReplyDelete